Website powered by

Some more Portofolio and Shader stuff (Im running out of blog post title name ideas😆)

General / 29 March 2020
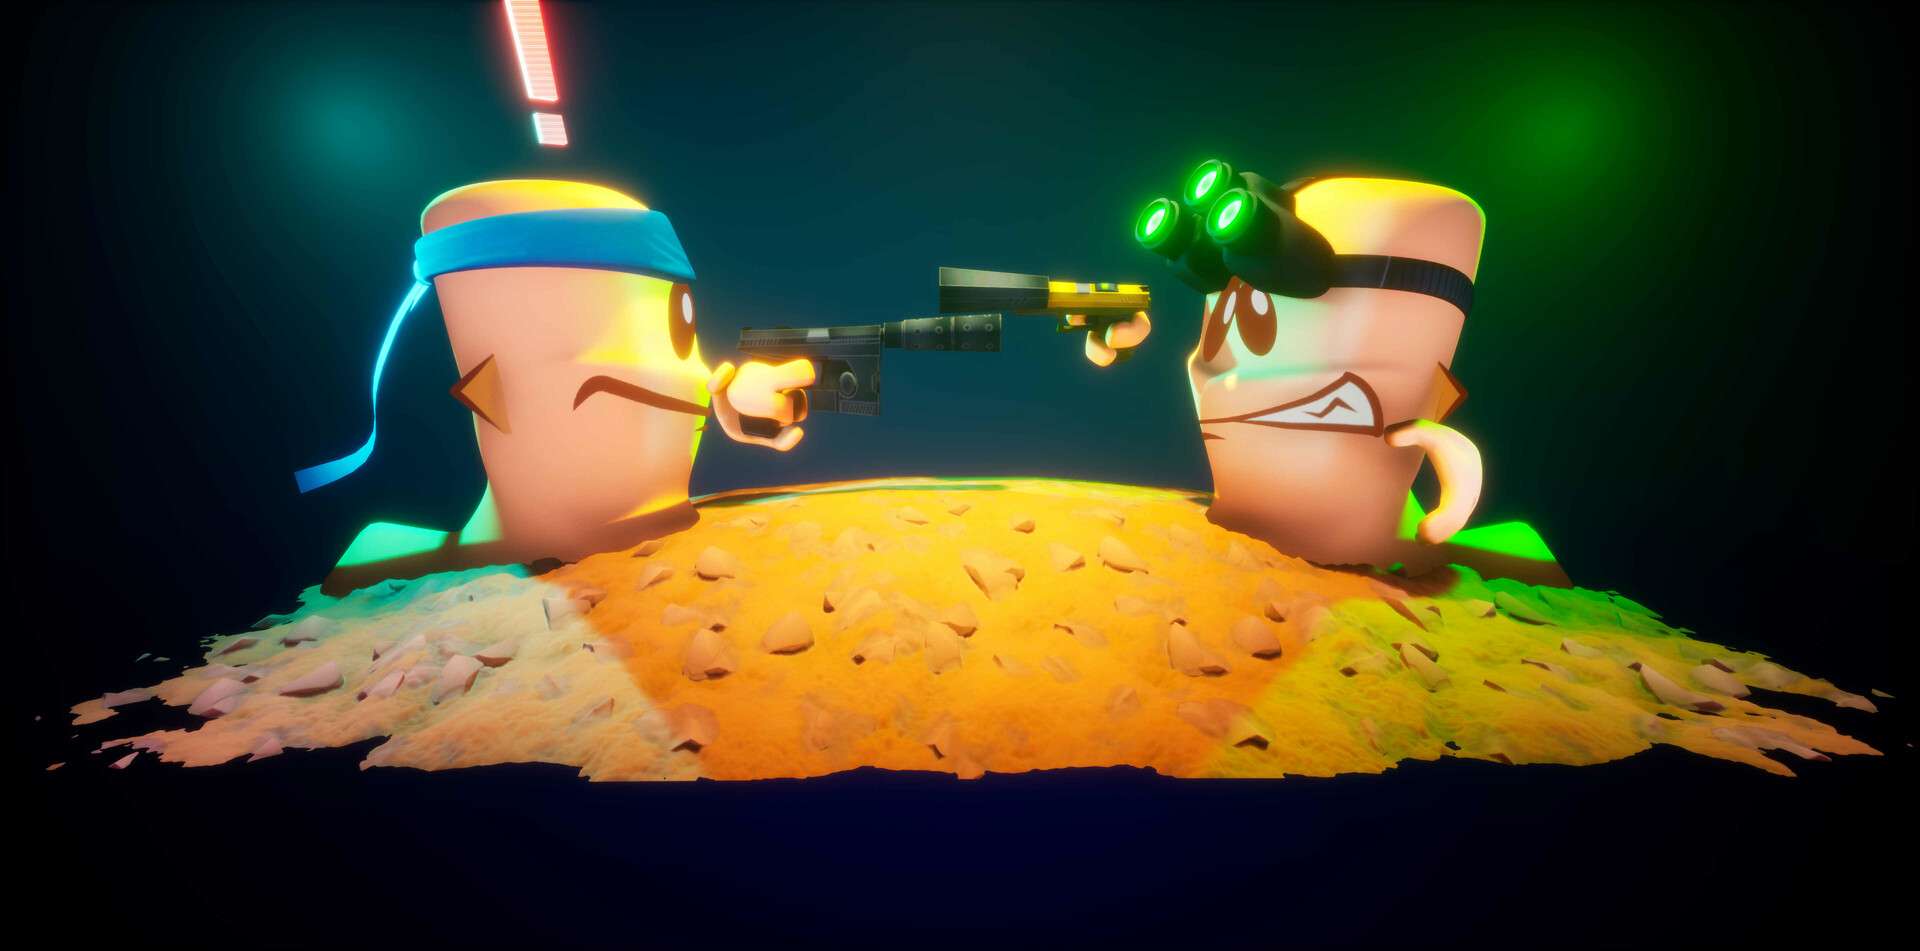
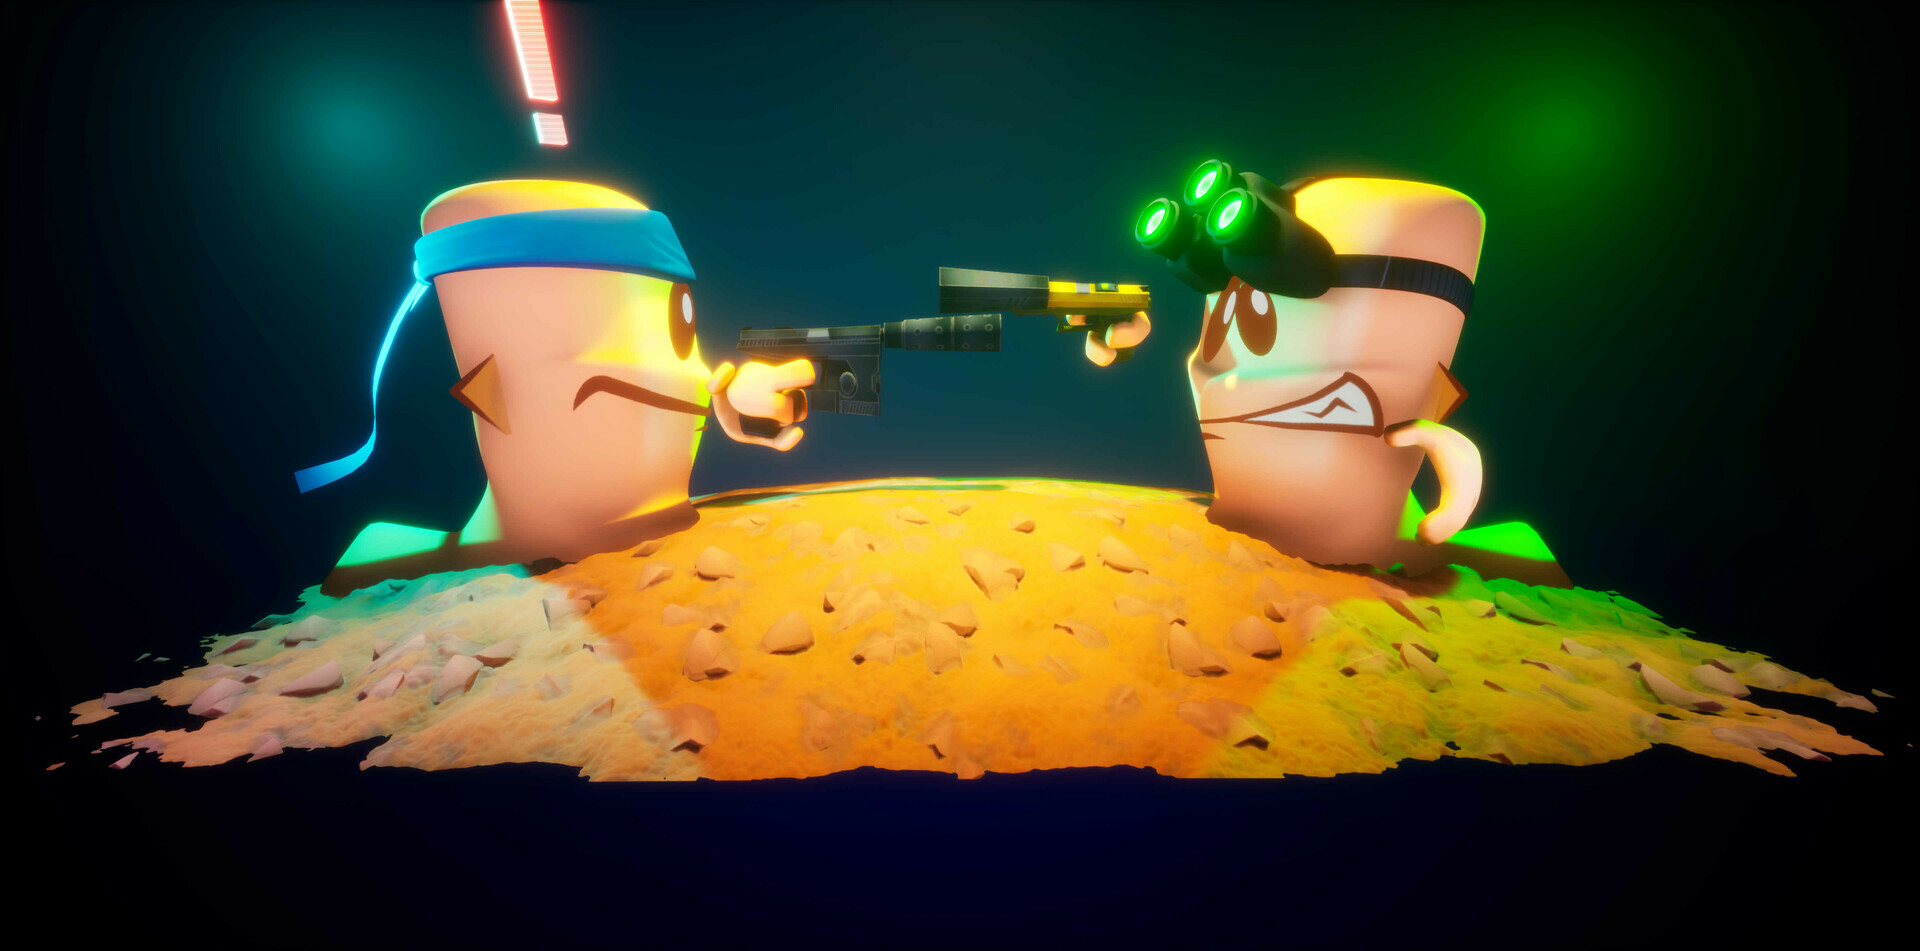
I haven't been updating much for a while after graduation from the MA course. I was playing Worms and Ghost Recon Wildlands. I really like the Splinter cell Mission and the Metal Gear Solid Easter Egg. I also didn't want to become rusty and forget how to model in Blender so I decided to make a quick mini-project based on those games: https://www.artstation.com/artwork/L2PPBw

Worms Project: What happens when stealth legends meet? (Splinter Cell, Metal Gear Solid, Worms Crossover Project) I then decided to add some final touches to the Potion Bottle Project and create a Portfolio Piece: https://www.artstation.com/artwork/mqkrg9


I also studied more about Python and Mel Scripting since I wanted to work towards being a Tech Artist. While Studying up on Python I decided to create this semi-fake equalizer in UE4 based on Spider-Man Into the Spider-Verse shader with the Kirby dots, half-toning, crosshatch shading. It uses a UV distortion which is then used Audio Visualiser plugin to make it react to music. Although it's fake and not accurate because of the UV Distortion, it doesn't need to be linked with audio visualisation plugin. The parameters can be linked to a character's movement for stealth systems instead: https://www.artstation.com/artwork/GXoxyN


Now im working on learning HLSL to study up on finding out what Ray marching  and Signed distance fields are. At thesame time I might do some more portfolio pieces.

MA Course Summary and Reflection

General / 04 October 2019
In this project a static Pirate cabin environment, a weather particle system, an explosion particle, custom world aligned materials and fluid simulation in bottles were created. In addition, a water system with 7 different features, a Pivot Painter asset, a dust material and a dynamic game environment were created. It was learned that most of the game art trick assets encountered tended to begin with either blueprints, external rigging and animation or materials. They then utilised other animation techniques if necessary, such as particle systems for VFX and animation blueprints for physics animation.


At the beginning, an experimental Pirate Cabin project was created to consider whether the animation techniques project was worth pursuing.
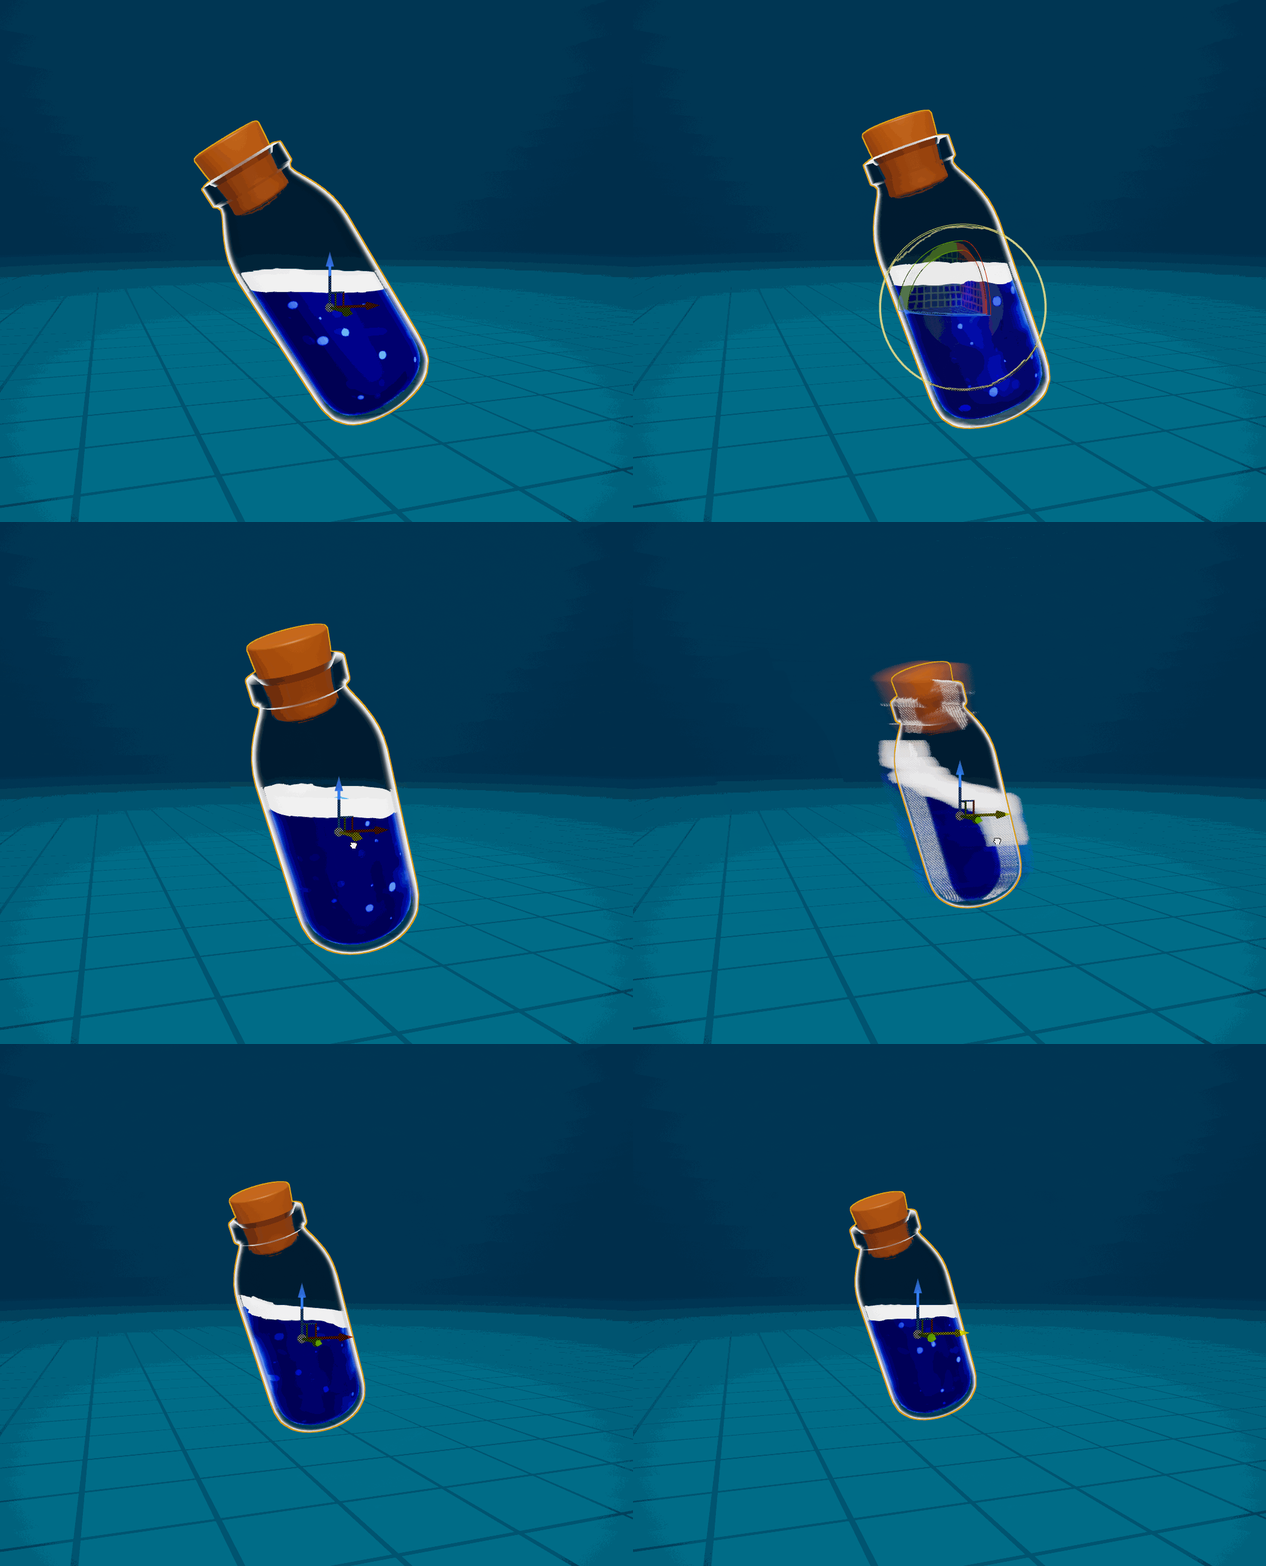
Weather Particle using Niagara Particle system Explosion VFX Using Niagara particle system. World Aligned Rain Material  Bottle Fluid Simulation


Finally, an environment was created showcasing the Water system with 7 modular features and Pivot Painter. The Seven modular features include Distance Field Flow, Vertex Paint flow, Distance field water foam, Waterfall/River variant, Gerstner Wave, Stencil Shader for boats and Render target ripples. However the environment was unable to showcase the stencil and render target ripples as they were not needed in the final game environment.

Here is the image showcasing Stencil shader:
Stencil Shader that can be used to mask boats on the water Render Target Ripples, which broke, due to issues with blueprint-material connections for the Render target. However, it wasn't necessary as it required having a character which isn't part of the Game environment research

Here is the Final Game Environment:


What Next?

My interests still rely on adding animation techniques as they are are a powerful asset for my workflow. However, I still feel I have a long way to go to reach the level of someone like Ryan Brucks or James Burton. In the future I also intend to explore either the old school rigging and animation or HLSL shaders as that is something I wasn't able to fully explore and I'm curious if I can create something interesting with those things. 

Final Environment

General / 02 October 2019
Here is the final environment:


After creating all the initial assets for the environment, I level designed and put the assets into place. I then set up the water system including adjusting the Gerstner waves on the ocean and the lake. I then put the river onto a spline following this Livestream tutorial by Zac Parrish: https://www.youtube.com/watch?v=wR0fH6O9jD8


I was initially skeptical about lookup tables for post-processing but I decided to give them a go and they are amazing! I was able to get the results and the colours I wanted on the sand as well as the overall environment. Lookup tables are very easy to implement and give you a lot of control. You make all the adjustments on a screenshot of the environment. You then apply the same adjustments you made on the screenshot to the lookup table texture, import to UE4 and see the magic.  Here is the documentation: https://docs.unrealengine.com/en-US/Engine/Rendering/PostProcessEffects/UsingLUTs/index.html

Next, I created the cinematics with sequencer and rendered out the movie. From there, I combined 2 royalty-free pieces of music from soundimage.org and finished everything off with DaVinci Resolve.

All Static Mesh Complete

General / 25 September 2019
Here are all the static assets I intend to use to create the Environment:

All the static assets ready to be turned into an environment. I'll probably add one more asset such as the grass if I get the time but this is more or less everything I intend to use.

I also imported the Heat Distortion post-process I made back in 3rd year. I remembered learning this from the old UDK documentation which was one of the reasons that got me interested into materials:  https://docs.unrealengine.com/udk/Three/PostProcessMaterials.html

Although it's a pretty old technique, it still makes a pretty good effect to this day.

I have textured the Dungeon Entrance and the palm trees with Substance Painter. For the Dungeon Entrance, I have set up the material the same way as the rocks so it will have all the same features like terrain blending, sand and moss etc.

I decided to change the sand again. I wasn't satisfied with the way it looks. The sand seemed to look wet. I might go back to the previous version (Again, thanks to Git I can experiment without worrying).  I'll keep playing around with the values to get something I like. Maybe I can do something with the post-process as that tends to do half the work visually. However, this isn't the final version though.

Palm Tree Textured

General / 25 September 2019
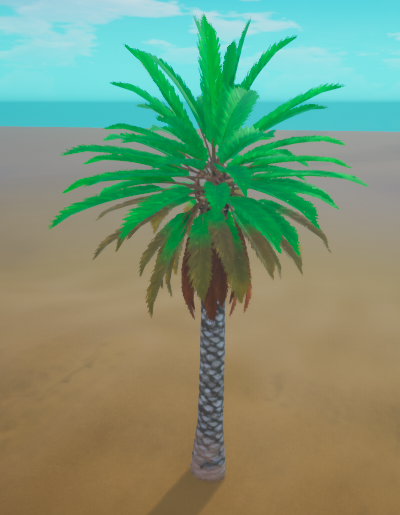
I really liked the date palm tree used in assassins creed origin. I based my palm tres on that except without the dates,
Date Palm Tree in Assassin's Creed Origin

I used Palm tree bark texture from Textures.com and modified it by making it tileable and used a cutout filter to make it stylised. After doing this just textured the rest tree trunk in substance Painter. I Handpainted the textures on the leaves. 

Before I textured the tree, I planned ahead and I assigned the branches in 3 separate materials, One for wilted leaves, semi wilted and fully green leaves. It's just so that the transition is easier to implement. In UE4, I then use the nodes in the material editor to control the wilt amount on the Branches. Also, I added in the terrain blending from the rocks. 

The result you get when assigning a material to certain leaves instead of all of them

As for the Fern, I used the palm tree model as the base and removed the trunk and the branches that won't be seen when placed on the ground (Some leaves will go underground and would be a waste of memory). This way I have a variation of full green leaves and semi Wilted leaves. However, once I imported it into UE4 and set up the material, it turned out that there was only one branch that had the Semi Wilted material assigned to it. I could have reassigned the material and set up Pivot Painter again which is a necessary step, otherwise it makes weird animation. Instead I just applied the Semi Wilted material to all the material and then I masked with the techniques I used to make the subsurface and height foam I made on the water. It does look strange and when the animated branch moves but it's a quick workaround to implement. I don't think it's noticeable from a distance.

In this case, I applied Semi Wilted Material to all of the leaves and masked based on the world position.

The wilt effect acting weird with the animation because of the World position mask I used.

Landscape

General / 19 September 2019
I wanted to make Journey's Sand in UE4 and I revisited the Sand Rendering Journey talk by John Edwards: https://www.youtube.com/watch?v=wt2yYnBRD3U

When I first saw this presentation I couldn't understand how it was made now that I've got a good idea of the Material Editor. I understand some parts of how to make the glitter effects in Journey. I have also seen a similar approach on Twitter by Rob Fichman:
got a lot of people asking how i do my sparkly effects and i love the shader tutorials by @minionsart so i got inspired to make my own!! gonna go more in-depth in the replies #gamedev #madewithunity pic.twitter.com/yfKO93yRq7
— rob fichman @ i ✨💖✨ my gf (@bobacupcake) January 29, 2018

Using the stuff I've learned from making the water material along with the Twitter post, I was able to make this sand in UE4:

Overview of all assets and the landscape material test
One thing that I lack in the landscape is the Oren-Nayer Shading from Journey. But from playing Journey and eyeballing the landscape shader behaviour, I just used fresnel to get a similar look. It's not ideal but it's a workaround to run with. I also played around with the procedural textures to make the height and the Normal maps from Substance Designer and imported it into UE4. I also added in a grass layer which is basically the Moss from the Rocks I made earlier. I didn't spend too much time trying to make the landscape as the main focus is to try and get the environment done.


Pivot Painter

General / 14 September 2019
I was initially thinking of not using Pivot Painter but since I am working on creating the foliage for the environment, I  decided to go ahead with it. I never really liked the Simplegrasswind node as that didn't produce convincing results. Even though you can modify its animation by other masking techniques, I still didn't like the motion it produces.

In my 3rd year on my BA course, I used a simple Sine motion for the foliage which was great as a simple animation but I wanted more control based on wind direction and strength.  Later, I found out that there was something called Pivot painter. A feature that isn't mentioned quite often.

Here is a good comparison of Pivot Painter and Simple grass Wind: https://www.youtube.com/watch?v=3u_576Pdcu0

There aren't many resources to go with on Pivot Painter but the Content Examples map, the UE4 Documentation: https://docs.unrealengine.com/en-US/Engine/Content/Tools/PivotPainter/PivotPainter2/index.html and tutorial by Abey Miranda: https://www.youtube.com/watch?v=q1WXSfuuEBA helped me with setting this up.

I made the model in Blender and set up Pivot Painter in 3DS Max.
It involved parenting the models in a hierarchy (as you would do for character bones) and then running the Pivot Painter Max script that is tucked away in the UE4 directory. That will produce textures with Pivot Data,  The main annoying part is orienting the Pivot point of each part of the model based on the direction the model is facing (which was a bit frustrating). It was a bit hacky to setup but in the end, the results make it definitely worth the hassle:


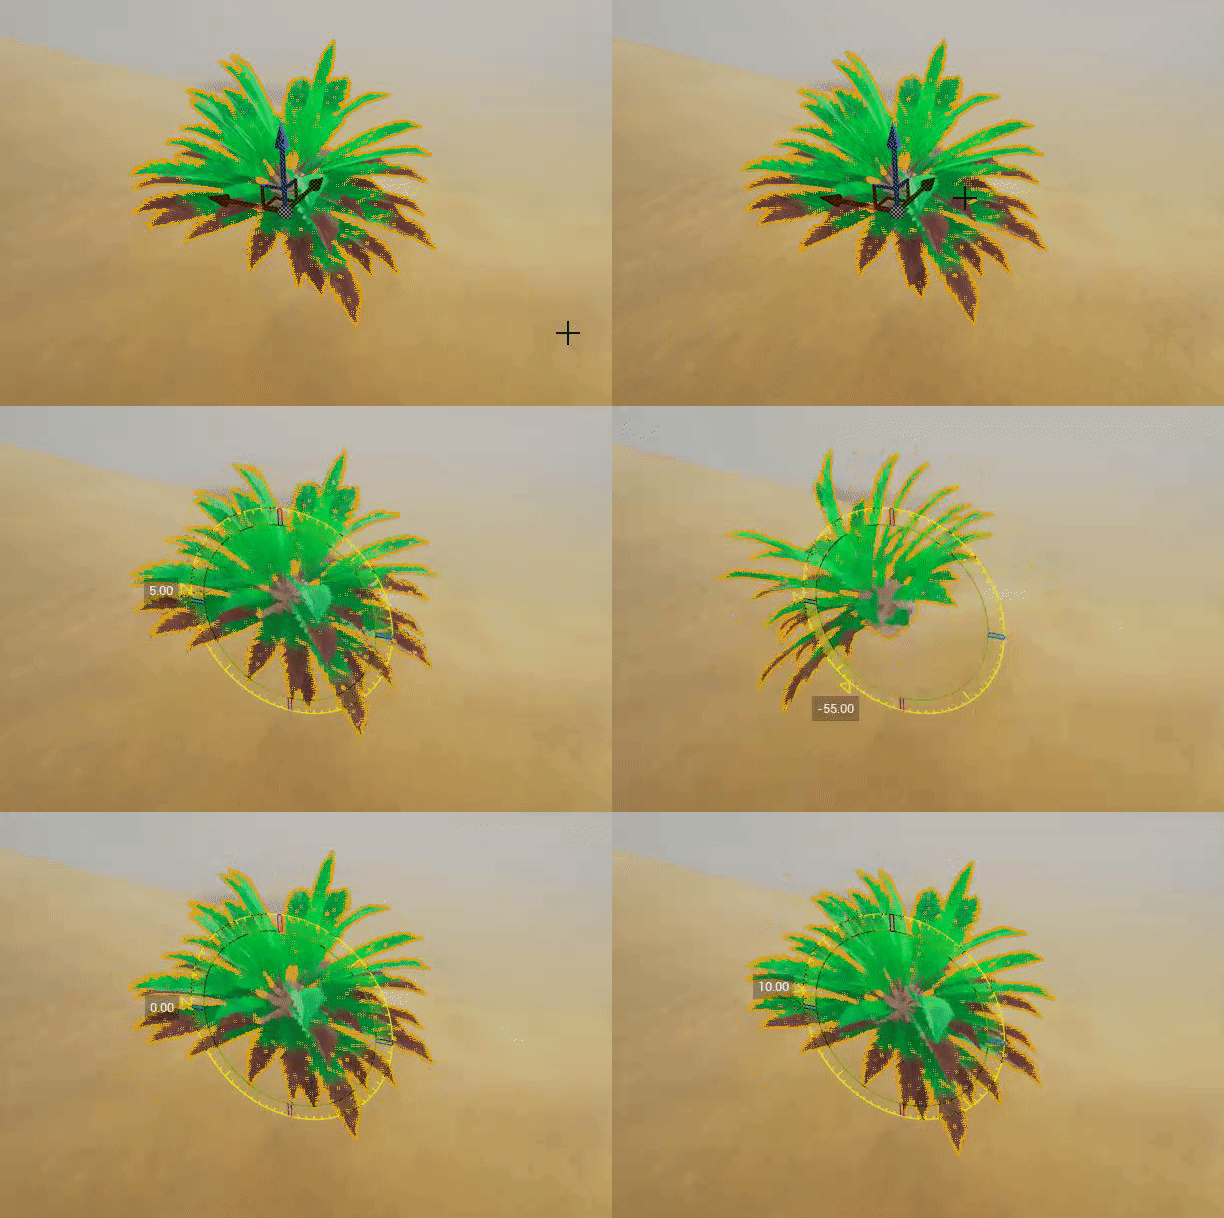
The amount of customisation of Pivot painter makes it really worth the effort. I cand the wind intensity and the Direction of the palm Tree. I can also mask certain areas to not animate such as the trunk (depending on the hierarchy). I also decided to add in simple sine animation to push the animation a bit further, Although Pivot Painter produces amazing results, it doesn't bend the geometry on the leaves. The motion on the leaves made the leaves look like they were branches instead and the simple sine animation really helps bend the geometry.

Dungeon Entrance Sculpt

General / 10 September 2019
Here is the sculpted version of the Dungeon Entrance:


I have decided to go with the One Mesh Workflow instead of Modular pieces. This way is slightly faster. However, I will split the UVs into separate materials so that the Texel Density is consistent and nothing is lost.

Final Water Polish

General / 05 September 2019
When I first created the Gerstner Wave I left it in a separate material in which I didn't intend to integrate it into the water system until after I had finished adding other features. This was because I was being a bit cautious. I didn't want it to break like the Render target fluid simulation broke. Now that I have added the Gerstner Wave it has opened a few doors to changing the aesthetics and functionality of the Water system. So this is a bit of a crazy update on the water system.

Gerstner Wave

Gerstner waves are supposed to be stacked on top of each other otherwise it just looks like a sine animation. I remembered this from the tutorial by Dokipen where he stacked 4 Gerstner Waves on top of each other. Another Example is in Ryan Brucks's Distance field water shader where he mentions he stacked 8 Gerstner waves in the description of his video. I saw a really cool water system in a tweet about the water in Blazing Sails and I wanted to reach out to the developers to ask if they are using Gerstner Waves for their water system. Luckily they are active on Discord so I joined and asked if they were using Gerstner Wave and if so, how many. They replied and said they had 40 Gerstner waves! 😲. When I was looking at Stencil tutorial by Nilson Fernandes de Lima I noticed that he and a few other members of the UE4 Forums: https://forums.unrealengine.com/community/work-in-progress/1519072-community-project-free-ocean-water-shader were working on Community FREE Ocean Project. Once I downloaded his project I learned that this project also had 40 Gerstner waves! It produces brilliant results, especially for stormy weather condition. However, It impacts on the performance.

I added in the option to add Gerstner waves in powers of 2 between 8-16  instead of having 40 Gerstner waves. This way, it can be customised based on preferences and less heavy on the performance. you wouldn't want 64 Gerstner waves on a calm lake, its a waste of performance. Why Powers of 2? It's just a habit I picked up on and its generally good practice.

Gerstner Wave with switch parameters to control the number of Gerstner waves in powers of 2 ranging from 8 -64 


Custom Depth Buffer (Translucency sorting order fix)
As soon as I added in the Gerstner Wave I had an issue with the translucency sorting order. I did some further research on how I can fix this and I found an 80.lv article by Adam Homoki: https://80.lv/articles/cartoon-water-shader-in-ue4/ where his water used the custom depth Stencil to fix the translucency sorting problem by adding another plane with Gerstner Wave World position offset/displacement underneath and not rendering in the main pass (similar process to how you would use when setting up stencils). It's a neat trick he used and it certainly fixed my issue.

You will see some overlapping waves because the engine does not know which translucent area it should render first. Normally you would fix this by changing the priority of the translucency order of the model but in this case, there is only one model and is overlapping itself.  Water wave with the custom depth buffer trick. As you can see there is no overlapping effect from other waves.  It's not perfect at the peaks of the Gerstner waves but it fixes most of the issues.
Subsurface information
I was going to add in subsurface information like in this Gerstner wave article: https://80.lv/articles/tutorial-ocean-shader-with-gerstner-waves/  where there is subsurface colour based on the height of the waves. However, in the same article earlier by  Adam Homoki, he uses the same technique except he adds another colour on the trough of the wave which is really neat.


Subsurface colour based on the height of the water and is masked tso that the the colour shows up when you face the direction of the sun/moon light.

Foam
I used the stuff I have learned from Subsurface scattering and I added foam based on the height of the water waves with a floor. I really liked the Wind Waker style textures they have added in the water from Blazing Sails and decided to add it in as well. The water in Blazing sails is pretty!

— Get Up Games | Blazing Sails (@get_up_games) November 16, 2018

Final Water with Foam

Gerstner Wave for the Rivers and Lake.

I wasn't thinking of adding Gerstner waves to the rivers and lake but the article by Adam Homoki mentioned he added Gerstner waves to them and it gives nice extra water information. Besides water on rivers in the lake isn't always flat as there is always some kind of subtle wind. Since Models for the ocean is the same as a lake I didn't make many changes to the material. However, I will need to make an instance to make the lake. I also intend to convert the Waterfall into River so I decided to add 8 Gerstner Waves to the waterfall. Adding more than 8 Gerstner wave is pointless since it's only going to be subtle.

Final Thoughts

That's the water system complete. I will need to do some setting up into the final scene though and there are still a few things I may need to add in outside the material like putting the water onto a spline to make a river.
Vertex Paint Flow map and flow map visualisation

General / 28 August 2019
There aren't many tutorials to go with when it comes to Vertex painting Flow maps. I was going to use the concepts that are in UnrealSimon's Flow map Tutorial: https://www.youtube.com/watch?v=tEr3NE_XLbc  But luckily I found one tutorial by TharleVFX which uses more or less the same process as the flow map texture technique in Unreal Simon's tutorial but uses vertex painting the way I want it: https://www.youtube.com/watch?v=hDH25HnFneQ.

I also wanted a way to visualise the Flow map and distortion of the water system. It can be difficult to see in different lighting conditions especially with the unlit water system I have made. I remembered an old twitter post by H.Kudo:


Flowmap Fields Visualizer

UE4でフローマップの流れを可視化してみる
フローマップはFusion 9で作成
※音がでます

Visualize Flowmap Fields in UE4
Generated Flowmaps in Fusion 9#UE4 #Fusion9 #RealTime #DataVisualization #indiedev pic.twitter.com/5pDqwBHjN3
— h.Kudo (@_KudoHiroyuki) July 1, 2018

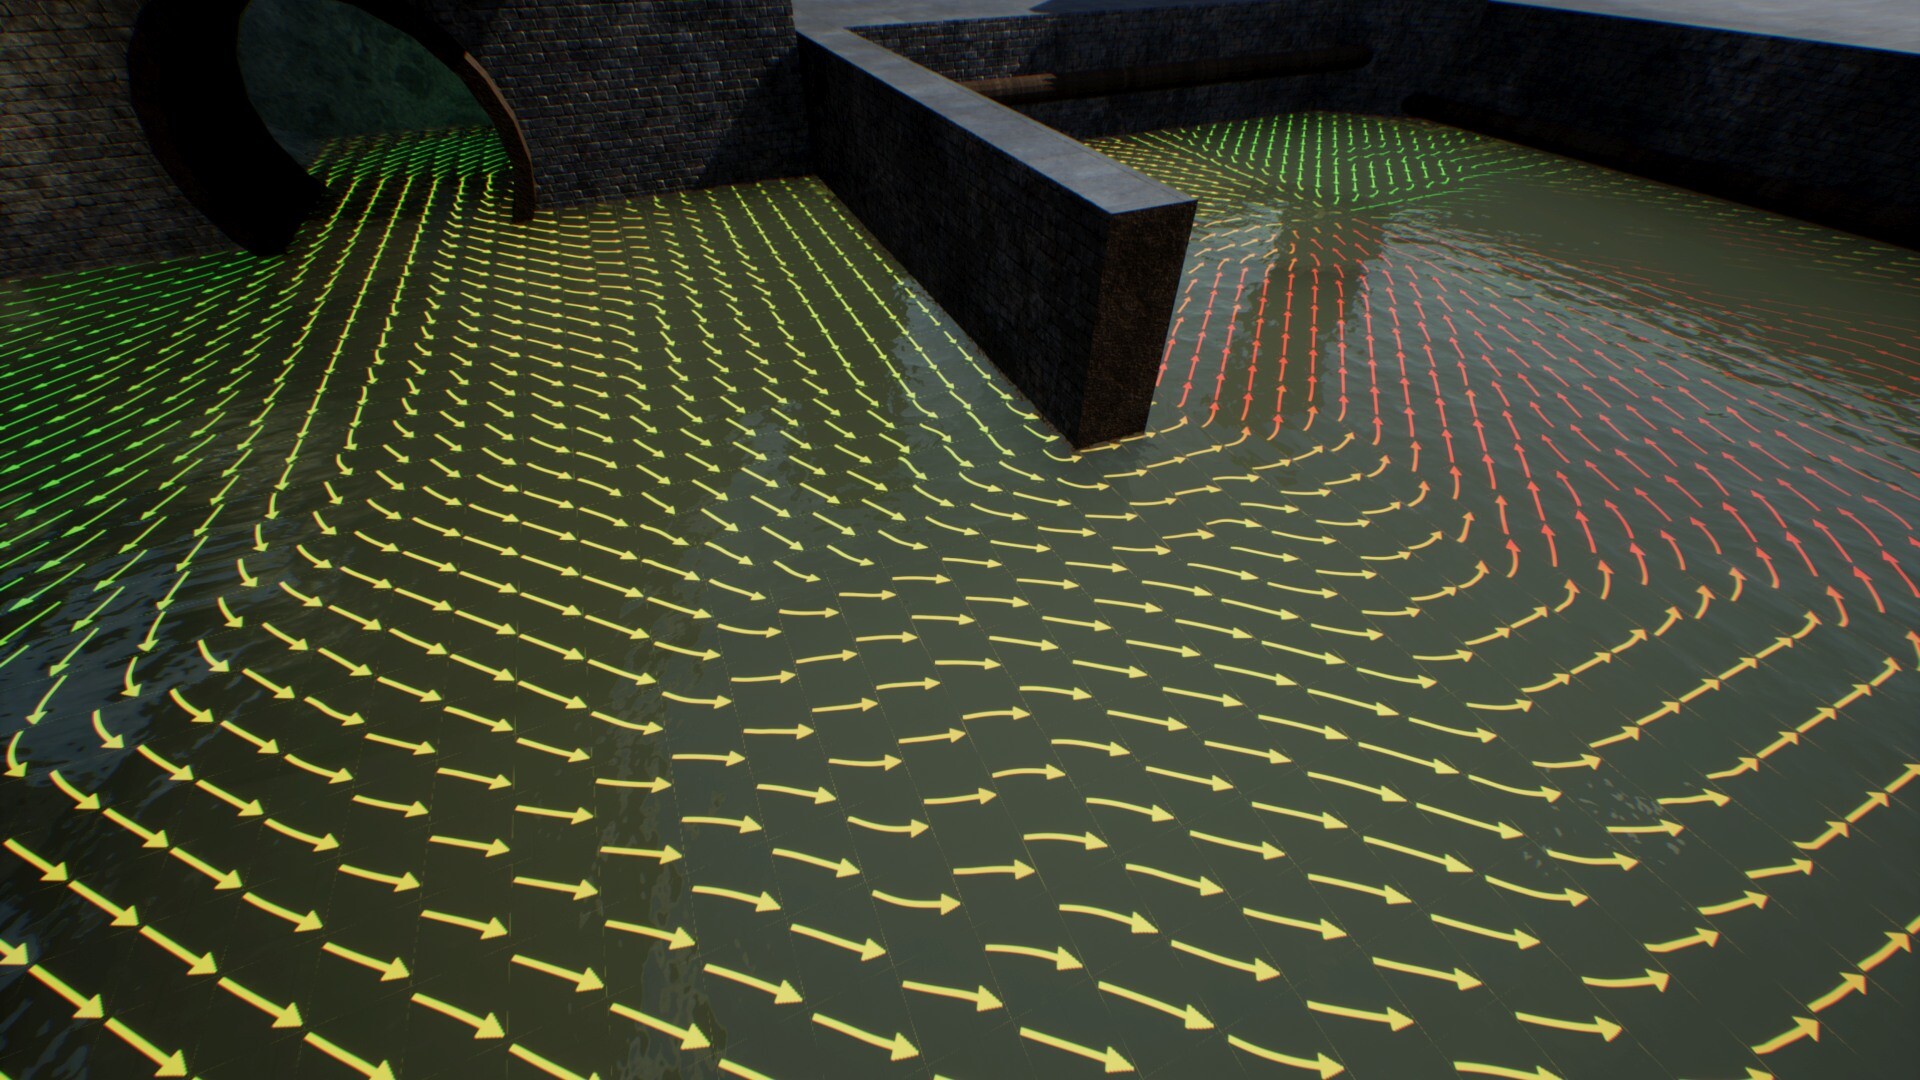
I really like how he added arrows to help visualise the flow direction. However, From the way, the arrows were casting shadows. it seems to be a blueprint and I wanted it to be a material. I really wanted to add the arrows but I didn't know how to rotate an arrow texture in the material. However, towards the end of the video, He added grid texture as a secondary way of visualising flow maps. So I thought I'd use that if I have no luck in adding in arrows.

I was able to find a UE4 marketplace asset, Aquatic Surface by Krystian Komisare (https://www.unrealengine.com/marketplace/en-US/slug/aquatic-surface) that shows arrow visualisation within the material really well. I might purchase his content in the future and study how he has done this but for now I am sticking with the grid visualisation technique instead.

Aquatic Surface by Krystian Komisare - Vertex Paint Flow map with arrows to help visualise the direction of flow
Here is vertex painting in action for my water system along with the grid visualisation:


This is the final feature I wanted to add to the water system. It's now onto combining everything such as integrating Gerstner waves and adding subtle changes. But the main focus is on creating the environment.